When it comes to graphics card overclocking software, few can match MSI Afterburner. Overclocking is when you increase the specified clock rate of a computer. And MSI Afterburner lets you maximize the potential of your graphics card. So that you can seek better performance than what is expected from it.
| Name: | MSI Afterburner |
| Size: | 4 MB |
| Compatibility: | Windows (All Versions) |
| Language: | English |
| Security: | Checked – Virus Free |
| Downloads: | 15,00,340 |
MSI Afterburner is used widely for its efficiency and provides several tools to overclock GPUs. The app was created in collaboration between MSI and RiverTurner. It provides features like with OC Scanner, Hardware Monitor, Custom Fan Profiles, and much more. The app is available for free and is compatible with almost every graphics card. Here we will discuss MSI Afterburner in great detail.

Compatibility of MSI Afterburner
The compatibility of the app is one of its greatest strengths. You do not need to be bothered about the type of graphics card you are using. The app is compatible with:
- NVIDIA
- AMD
- ASUS
- Intel
- EVGA
- Gigabyte
- Sapphire
- Zotac
- Via
- Power VR
This cross-brand support of the app makes it a versatile tool to possess. As you can see, MSI Afterburner is capable of supporting AMD GPUs. It is also compatible with the latest GeForce RTX 3080. When you download MSI Afterburner, use it without any worries.
What does MSI Afterburner do?
Let us discuss the multitude of functions that the application achieves.
- Monitoring- When playing you need to know the limit you can push your device to. MSI Afterburner makes it possible for you to monitor the performance of your hardware. It gives you vital information about the temperature, voltage usage and clock speed in real time. Get these information in graph form or on-screen.
- Overclocking Features- The app has clearly prioritised the need of the games when developing the app. MSI Afterburner gives you the power to tune your computer to your needs without any worries. You get control of GPU settings like power limit, temperature limit, memory clock speed and etc. With the new OC Scanner get to know about the best setting for your device and get quick boost.
- Benchmarking- MSI has a burn-in benchmarking tool called Kombustor. It pushes your card to the maximum limit without compromising the stability. It determines the thermal performance of your computer. Another great part, you get to know how your customizations are affecting your GPU.
- Video Capturing- You perhaps would not have thought that MSI Afterburner allows you to capture videos as well. But with its add-on application called Predator, capture videos in WMV and AVI format. You can control the frame rate, quality and resolution of your videos with ease. And share your exploits in-game with the world.
Download MSI Afterburner for PC
For setting up MSI Afterburner on your device, you can follow the steps below to aide you.
- Downloading the application is a piece of cake. Visit the official webpage of MSI Afterburner. Scroll to the bottom of the screen and you would discover floating options to download it.
- Click on the ‘Download’ option to download the file. You might also download the MSI Afterburner app for Android, if you wish to control the graphics settings of your Android device.
- Wait till the download is over before heading to the download’s folder. Here you shall find MSI Afterburner.zip file. Extract it to your desirable folder before installing the application.
- Locate the MSI Afterburner executable file and run it. Follow the installation process and make sure to install Kombustor during this time as well.
- After the installation is over, open the ‘Settings’ to set up MSI Afterburner. Visit ‘User Interface’ and select ‘Default MSI Afterburner skin’. This will give you the best interface experience.
- Now, visit the ‘General’ tab and click on ‘Unlock Voltage Control’ and ‘Únlock Voltage Monitoring’. If you are using multiple graphics cards, select the one you want to overclock from ‘Master graphics processor selection’. Change the rest of the settings according to your device. MSI Afterburner is now set up on your computer.
Run Benchmarks on MSI Kombustor
Kombustor benchmarking is necessary as it lends you a better experience. You can push your graphics to the limit as well as test GPU’s stability and thermal performance. And this is an important step also because you will get to know the absolute limits of your device.
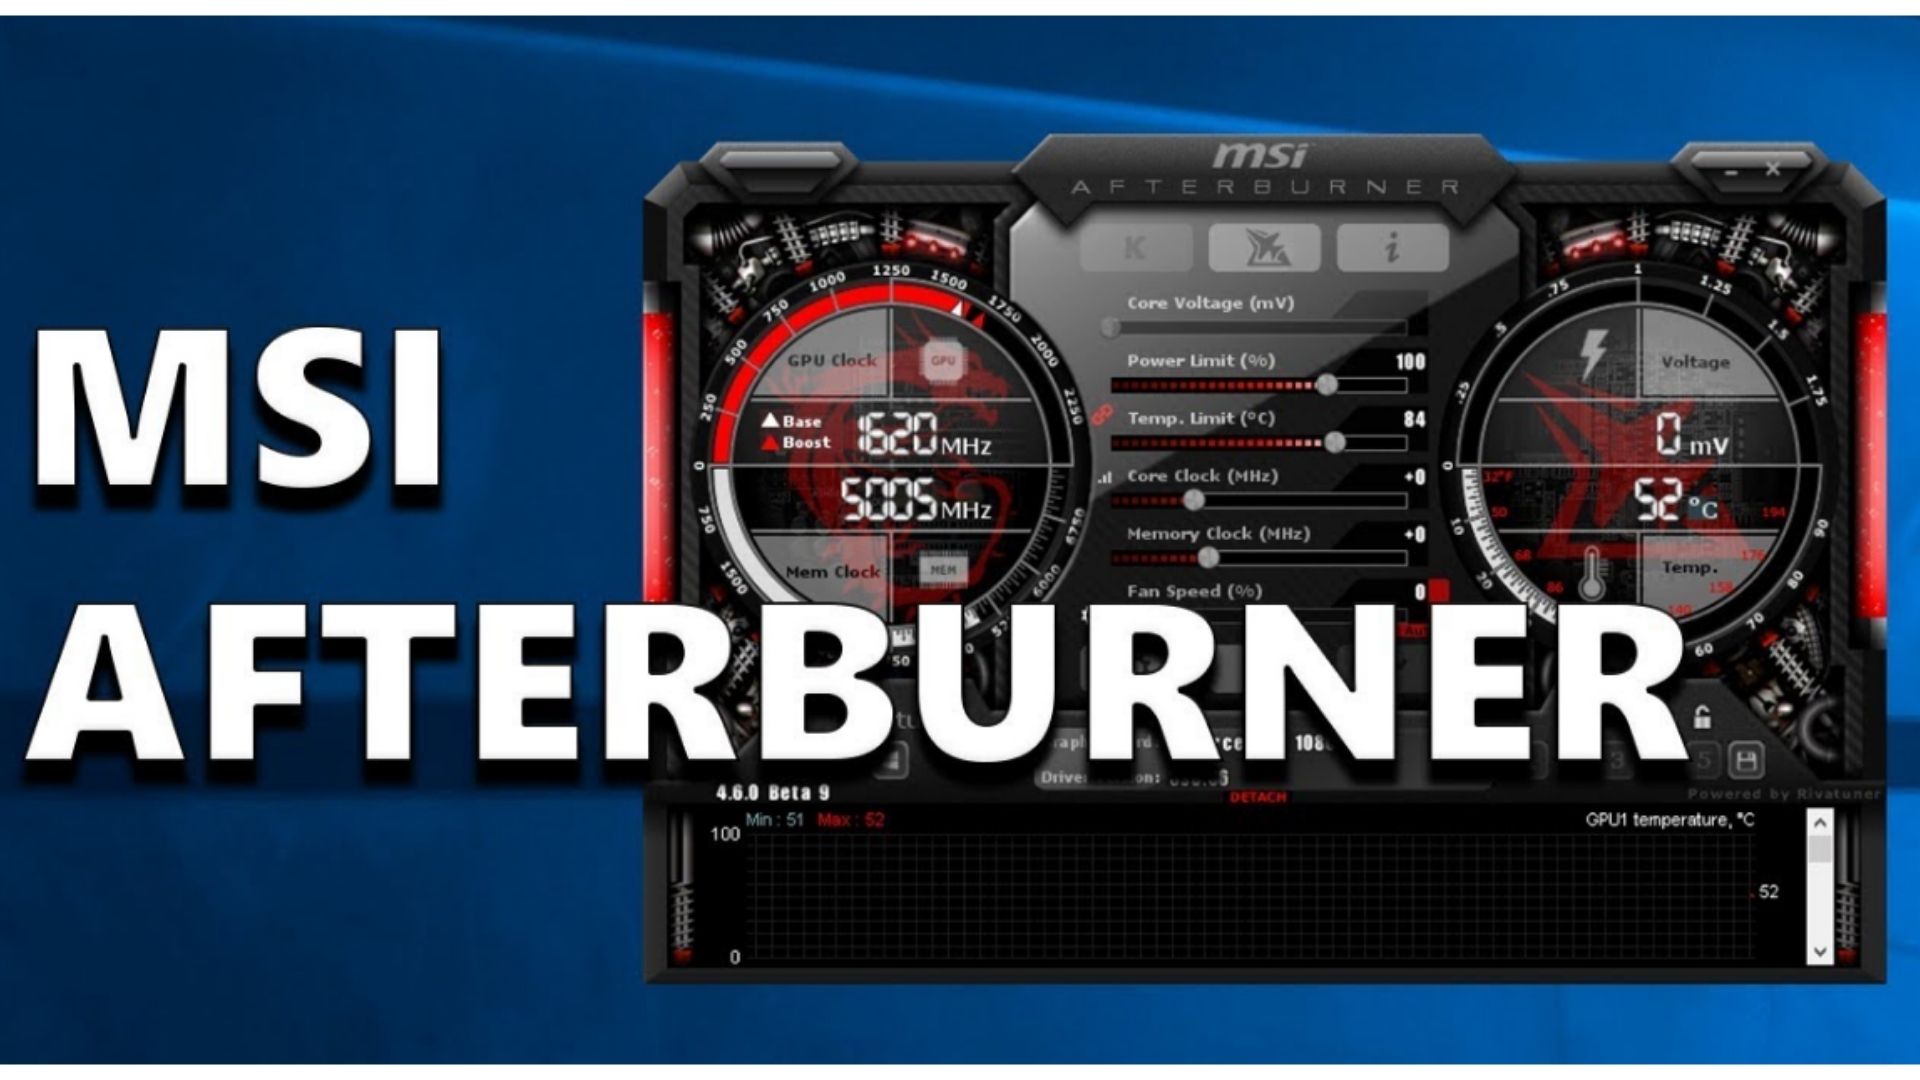
- After you open the Afterburner you will find the GPU name and driver version on-screen. Beside them at the top-left corner you will be able to discover a K-icon. This is the icon for MSI Kombustor.
- Kombustor immediately starts the benchmark stress test. This will give you a perception of how your device runs on default factory settings without overclocking.
- This step lets you monitor GPU temperature, FPS, and GPU load. You can also discover settings ideal for you and push your PC to the limit.
Overclock using MSI Afterburner
Overclocking can help you unlock the untapped potential of your device. And with the easy overclocking tools from Afterburner, get precise access to the settings of your graphics card.
- Firstly you have to change the GPU settings. Maximize the ‘Power Limit’ and ‘Temp Limit’ from the settings. This will make your GPU more power-efficient.
- Next increase the core clock speed slider. One step equals one MHz above the clock speed. You need to set it up by 20-30 MHZ. Keep Kombustor running in the background. This will help you in keeping an eye on the performance of the GPU.
- Remember you will start experiencing a few graphical issues once the upper limit for clock speed has been reached. This is perfectly normal and not a reason to be worried. It helps you understand the limit of your GPU. When you will experience this, decrease the clock speed by a few notches one at a time, until the glitches stabilise. This is the point you would wish to keep the clock speed at.
- Now apply the similar test on memory clock speed and keep it between 50-100 MHz. Find the stable rate in the same way as you did during setting the clock speed. Now run the Kombustor for a sustained period of time to check the core clock speed and memory clock speed.
- If satisfied then save the settings to your profile.
Enable On-Screen Display
On-Screen display is enormously beneficial when playing games. It appears at the corner of your screen and gives you a real time performance chart. This feature lets you know exactly how far the device is being pushed.
- To enable this function, first visit the ‘Monitoring’ tab in the settings.
- Find ‘Active hardware monitoring graphs’ select On-Screen Display and set ‘Properties’ to ‘OSD’. Choose the information you want to be displayed next.
- From the next time this feature will keep providing you with real-time updates. If bothered just switch it off from a hot key that can be inserted from the ‘On-Screen Display’ tab.
Set a Fan Profile
Setting up your fan profile is key to the cooling of your device. Lack of proper heat dissipation can affect the performance of your GPU. MSI Afterburner allows you to custom set your fan speed to find the sweet spot which is ideal for you.
- You can set a Fan Profile by visiting the ‘Fan’ tab from Settings.
- Enable ‘User-defined software automatic fan control. This will allow you to customise your fan curve according to your requirements.
- Now set the curve by clicking on a point while to delete it, just click on it and press ‘Delete’. Apply your changes and your custom fan profile will be set.


![Free Download Filmora for Windows 10 [Lastest Version] Filmore for pc](https://cdn.webeeky.com/wp-content/uploads/2021/01/Filmora.jpg)

Leave a Reply
You must be logged in to post a comment.